Drive or partition letters are not fixed. You can change them. Here is how to change a drive letter in Windows 10 & 11 operating systems.
Windows automatically assigns a unique drive letter for all the drives, partitions, and plugged-in USB drives. Generally, the assigned letters are in incremental order starting with the letter C. For the most part, you don’t have to change the drive letter as it is pretty inconsequential in most cases. However, there might be times when you need to manually modify the drive letter of a drive, partition, or plugged-in USB drive to meet certain requirements.
For example, I want to use the drive letter X for one of my partitions because one of my older scripts requires it. The script won’t work as intended if it doesn’t have that specific drive letter. Since these are older files, and there are many of them, in typical Windows fashion, I tend to swap the drive letter rather than making the necessary changes to the script files.
Thankfully, Windows has several ways to change the drive letter. You can use the built-in partition manager or execute a few commands in the terminal. I will show both ways, follow the method you like.
Table of contents:
Note: Close all active programs except your browser before proceeding with the below steps. It will reduce potential conflicts between programs and the drives.
Important: Do not change the drive letter of system volume or boot partition (C drive).
The steps below work the same in Windows 10 and 11.
Change drive letter using partition manager
Though most don’t know, Windows has a built-in partition manager called Disk Management. You can use it to quickly and easily change the drive letter. All you have to do is go to the drive options and choose the new drive letter.
Here is how to do it:
- Press “Win + R” to open Run.
- Type “diskmgmt.msc” and click “Ok.”
- Find the drive you want to modify.
- Right-click on the drive.
- Choose the “Change drive letter and paths” option.
- Click the “Change” button.
- Select the “Assign the following drive letter” radio option.
- Choose a drive letter from the dropdown.
- Click “Ok.”
- Click “Yes” in the warning window.
- Again, click “Yes” in the second warning window.
- Close the main disk management window.
- You have successfully changed the drive letter in Windows 10 and 11.
Steps with more details:
First, search and open “Create and format hard disk partitions” from the Start menu. You can also use the “diskmgmt.msc” Run (Win + R) command.
After opening the Disk Management tool, find the drive you want to change the drive letter, right-click on it, and choose the “Change drive letter and paths” option.

Now, click the “Change” button.

Select the “Assign the following drive letter” radio option, choose a drive letter from the dropdown menu, and press “Ok.”

You will see a couple of warning prompts. Press the “Yes” button in both prompts.
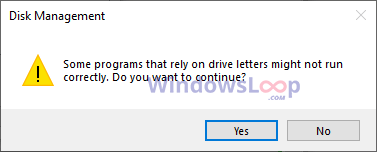

Finally, close the Disk Management tool, and you are done.
That is all. You’ve successfully changed the drive letter in Windows. To make the changes take full effect, reboot the system.

Commands to change drive letter
You can use the diskpart command to change the drive letter of any drive, partition, or USB drive in Windows. Here’s how to use the command to modify the drive letter.
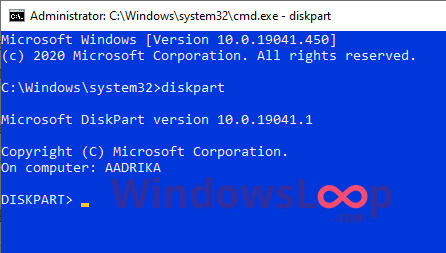
Press the Windows Key to open the Start menu. Type “Command Prompt,” right-click on the result, and select the “Run as administrator” option. You can also right-click the Start menu, choose “Windows Terminal (Admin),” and open the Command Prompt tab in it.
After opening the cmd window, type “diskpart” and press Enter. This will launch the diskpart program in the cmd window.
Type “list volume” and press Enter.
The above command will list all partitions and their volume numbers. Take note of the volume number of the drive you want to modify.
Next, execute the “select volume #number” command. Don’t forget to replace the #number with the actual volume number.

After selecting the volume, execute the “assign letter=NewDriveLetter” command. Replace “NewDriveLetter” with the actual drive letter you want to assign.

Once assigned, close the cmd window.
That is all. Once the diskpart commands are executed successfully, the drive letter is changed instantly. To make the changes take full effect, reboot Windows.
I hope this simple and easy Windows how-to guide helped you.
If you are stuck or need some help, send an email, and I will try to help as much as possible.
Did you know you can change a drive icon to anything you want? Follow the linked article to understand how to do it.