


On Windows 11, you can control apps that can show priority notifications. This guide shows you how to add or remove apps to the priority notifications list on Windows 11.
If you don’t want to get bombarded with notifications, you can enable the Do Not Disturb mode on Windows 11. This makes it so that the system only shows priority notifications. The good thing is, you can pick and choose which apps can show priority notifications. All you have to do is add or remove apps from the priority notifications list.
Let’s get started.
Add apps to priority notifications on Windows 11
To add apps to the priority notifications list on Windows 11, follow the below steps:
Step 1: Press the Start key + I shortcut on your keyboard to open the Settings window. Alternatively, you can search for “Settings” in the Start menu or click/tap on the gear icon in Quick Settings (Win + A).
Step 2: Once the Settings window opens, navigate to the System tab on the sidebar. Next, click on the Notifications options. As you can tell from the option name, this is where you can manage Windows 11 notifications.


Step 3: Click/tap on the “Set priority notifications” option on this page. This is the option that lets you manage which apps can show priority notifications on Windows 11.

Step 4: To add an app to the priority notifications list, click on the “Add apps” button.

Step 5: Select the app you want to add to the priority notifications list.

That’s it. With that, you’ve added the app to the priority notifications. From now on, this application can show notifications even when you turn on Do Not Disturb mode on Windows 11. Following the same steps, you can add as many apps as you want. However, I recommend, you only add apps you really want.

Remove apps from priority notifications on Windows 11
If you want to stop an app from showing priority notifications, you must remove it from the priority notifications allowed list. Here’s how to do it.
- Open Settings on Windows 11.
- Go to the System tab.
- Click/tap on the Notifications option.
- Click/tap on the Set priority notifications option.
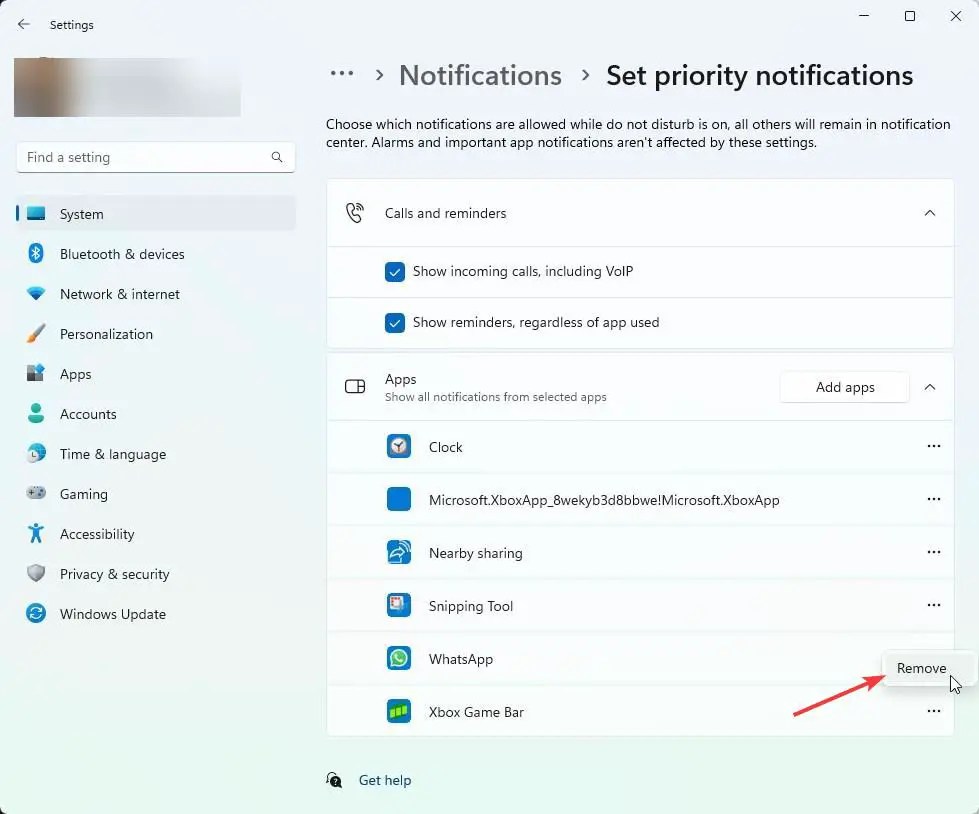
- Find the app you want to remove from priority notifications.
- Click/tap on the menu icon (three horizontal dots).
- Choose the Remove option.
- With that, the app is removed from the priority notifications list.
That is all. It is that simple to add or remove apps from priority notifications on Windows 11.
I hope this simple Windows how-to guide helped you.
If you are stuck or need help, send an email, and I will try to help as much as possible.
Related Windows how-to guides: