To better protect your personal and sensitive files, Microsoft added a new feature in OneDrive called Personal Vault. Follow these steps to enable and setup the Personal Vault in OneDirve.
What is OneDrive Personal Vault?
OneDrive personal vault is a dedicated folder in inside your OneDrive account and is protected with extra security and encryption. The vault can be used to store your sensitive documents and other files. Personal vault adds an extra layer of security using a second identity verification process like OTP, fingerprint, PIN, facial recognition, etc.
Once you create the personal vault, every time you open it, you need to identify yourself with an additional verification step, even when you are logged into OneDrive.
Since the personal vault is like any other folder in OneDrive, albeit with additional security, it can be synced with Windows 10, Android app, and iOS app. As you can guess, this is particularly useful for desktop users. You will have instant access to a protected and encrypted folder where you can store your files without going through hoops to password-protect folder or hide a folder. With a single click, the files are locked away from prying eyes.
Steps to Setup OneDrive Personal Vault
Setting up the personal vault is pretty simple. Just follow the steps you will have it in no time.
1. First, log in to your OneDrive account. You will see a new folder called “Personal Vault”. Double-click on it.
If you don’t see the Personal Vault folder then it means that the feature is not rolled out to you. Microsoft is rolling out the feature in waves. So, you will have access to it sooner or later.

2. You will see a welcome screen. Click on the “Next” button to continue.

3. You will be prompted to verify yourself. Click on the “Verify” button and verify yourself.

4. That is it. You will get access to the Personal Vault. You can upload files to it like any other OneDrive folder.
Do note that as of writing this, the personal vault is limited to 3 files only. If you’d like to extend the limit, you have to subscribe to Office 365.

5. Once you are done using the personal vault, click on the “vault” icon appearing on the top-right corner and then select “Lock”. That is it. Your files are safe and secure.

6. Like I said before, the personal vault will also sync with your device. For instance, if you open the OneDrive folder in Windows 10, you will see the Personal Vault.
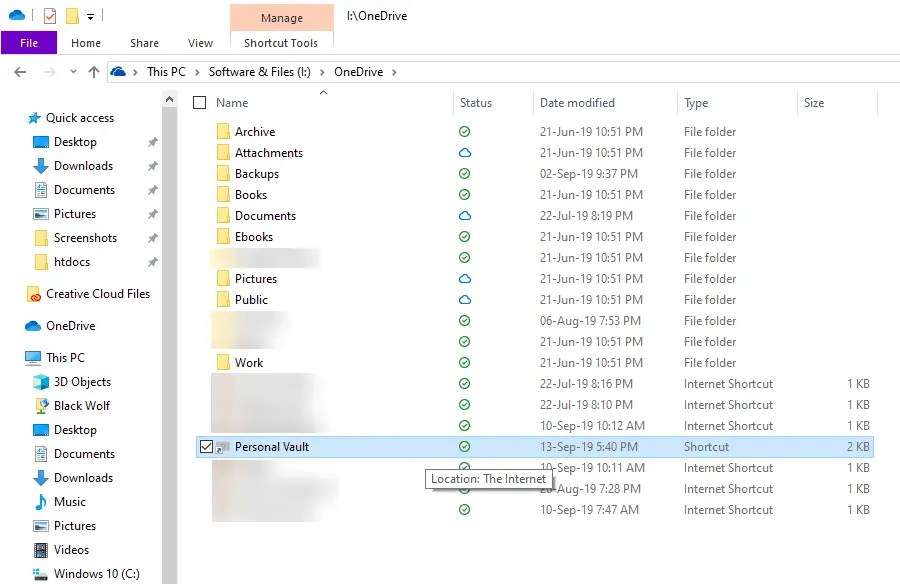
7. Double-click on it, authenticate yourself and you will get access to the vault. The same steps are applicable to Android and iOS apps. Once unlocked, you can add, remove, or modify like in normal OneDrive folders.

8. The folder will be auto-locked after 20 minutes of inactivity. Alternatively, you can lock it by right-clicking on it the vault and selecting the “Lock Personal Vault” option.

If you want to disable Personal Vault, you can do so from the OneDrive website. Before disabling the personal vault, move any files in it. Next, click on the Vault icon, select “Personal Vault Settings” and then click on the “Disable” link.

Wrapping Up
That is all. It is that simple to set up and access the personal vault in OneDrive. Though the feature is limited to free users, it still is a pretty neat addition to OneDrive.
Hope that helps. If you are stuck or need some help, comment below and I will try to help as much as possible.

I setup and saw the Personal Vault on Windows 10 File Explorer. But nothing happens after I double click on it.
When you double-click, give it a couple of minutes. For the first time, OneDrive tries to setup itself again before it can open and show the Personal Vault. Maybe it is because of the encryption.
Also, make sure that the Personal Vault is synced with your device. If you are using “Files on Demand” feature, the first double-click will only download the Personal Vault. You need to click on it again to open the vault.
What a shit. If I get a personal vault in Germany I do still want to have it named “personal vault” not “Persönlicher Tresor”. I do not want any cookie hints in German either. Refrain from doing language guessing by location!
It figures – there’s a 3 file limited without a subscription. Really …..