HandBrake using too much CPU and making the system slow for other work? Here’s a simple way to reduce or limit HandBrake CPU usage in Windows.
HandBrake is one of the best video converters or transcoders that works with almost any file type. Not to mention, HandBrake is completely free and open-source. Though HandBrake is mainly designed to rip DVDs and BluRays, you can also import your own regular media files and transcode them to M4V or MP4 format. One of the best things about HandBrake is that it is not only easy to use but has a lot of features that make your life a lot easier. For example, you can remove the unnecessary black bars, add subtitles, transcode with device-specific settings, etc. No matter your need, HandBrake has an option to suit your needs.
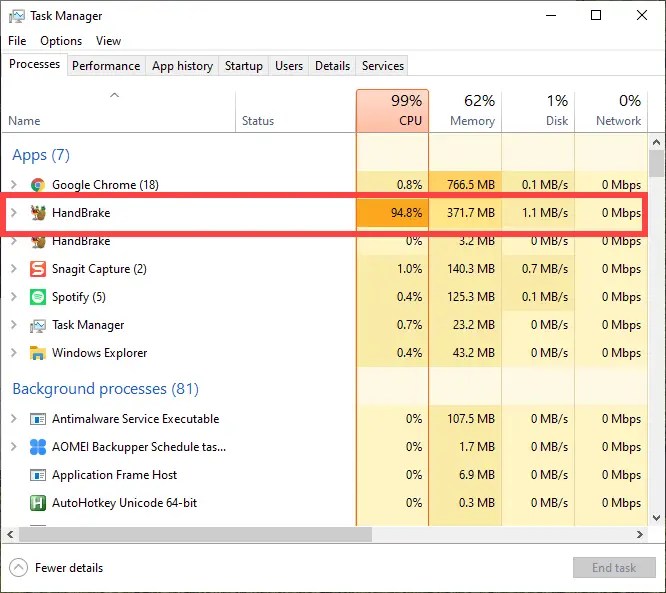
That being said, though the HandBrake’s user interface and user experience are simple, while transcoding it hogs all your CPU power. This, in turn, makes your system slow for other activities. Now, this is not a problem if you are not using your system. However, if you want to use your system while the transcoding is going on, it can be a hassle.
Thankfully, you can reduce HandBrake CPU usage by limiting how much it can use. So, without further ado, let me show how you can limit HandBrake CPU usage in Windows.
Note: I’m showing two methods, follow both methods if necessary.
1] Change HandBrake CPU Priority
The HandBrake application has a built-in option that lets you set the CPU priority. The lower the priority, the better the other applications will run while using HandBrake.
1. First, open the HandBrake application if it is not already open.
2. After opening HandBrake, click on the “Preferences” link appearing at the bottom left corner of the screen. You can also select it from “Tools → Preferences”.

3. In the Preferences window, go to the “Advanced” tab appearing on the left panel.
4. On the right panel, select “Below Normal” or “Low” from the drop-down menu next to “Priority Level”.

5. The settings are saved automatically. Click on the “Back” button appearing at the bottom left corner to go back to the main window.
That is it. From now on, Windows will automatically limit HandBrake CPU usage while you are using other applications. Keep in mind that when there are no running applications, Windows lets HandBrake use full CPU resources. Generally, this setting is good enough for most people as it gives you the best of both worlds.
2] Change HandBrake CPU Affinity (Limit How Many Cores HandBrake Can Use)
If you want to limit HandBrake CPU usage more aggressively, you need to change its Affinity. To put it in simple terms, you can limit how many CPU cores can HandBrake use while transcoding. For example, if you are using a Quad-Core CPU, you can limit HandBrake to use only two of those four cores. Since the other two cores are free, other applications can use them to run smoothly.
Though all this sounds complicated, all you have to do is select some checkboxes in the Task Manager and Windows will take care of the rest.
1. First, make sure HandBrake is running. If it is not opened, open it by searching for it in the start menu.
2. Now, right-click on the taskbar and select “Task Manager”.

3. In the Task Manager, go to the “Details” tab. Here you will see all the processes running on your system. Scroll down, find the “HandBrake.exe” process, right-click on it and select the “Set Affinity” option.

5. The above action will open the Affinity settings window that shows all the CPU cores (both physical and logical cores). In my case, I’m using a quad-core CPU with no hyper-threading. So, it shows 4 CPU cores.
Here, uncheck the CPU cores you want to be free. In my case I want two cores to be free so I’m deselecting CPU 2 and CPU 3 cores. Once done, click on the “Ok” buttons to save changes.

That is it. From now on, HandBrake will only use those specific cores that are checked in the Affinity setting window. Since you are limiting the number of cores HandBrake can use, you are limiting the overall CPU usage by HandBrake. In my case, even when HandBrake is running at full-throttle, the overall CPU usage will only be 50% because it is only using two of the four cores.
When you want to limit, simply go through the process again and select the “All Processors” checkbox in the Affinity settings window.
Wrapping Up
For most people, the first method where changing the CPU priority will be good enough. Not to mention, it gives you the best of both worlds because HandBrake can run at full speed while you are not using the system. That being said, if you want to put hard limits then the second method is pretty useful. This is especially useful if you want to use your system as smoothly as possible while transcoding in the background.
Hope that helps. If you are stuck or need some help, comment below and I will try to help as much as possible.
If you like this article, do check out how to download M3U8 videos in Windows.
Do not perform the affinity changes during a video conversion. The core output functions to file are still running after affinity changes, but there is only null data for those cores. The residual cores take up the slack, so if 8 cores runnng reduced to 4, then files will be about twice as long as if no affinity changes were made.