Microsoft To Do is one of the most popular free task management apps that lets you create to-do lists, reminders, and recurring tasks. Creating a list in Microsoft To Do is a pretty simple task. However, what if you want to group similar lists or tasks under a specific category or use case? For example, you might have similar lists for your personal and work life that you want to keep separate from one another. A general to-do list is a great example as you will have tasks to complete in both your personal and work life. Separating lists by groups makes organizing tasks in Microsoft To Do easy.
For this specific use case, Microsoft To Do has the option to group lists. In this tutorial, I will show you the simplest way to group lists and tasks in Microsoft To Do, let’s get started.
Steps to Grouping Lists in Microsoft To Do
1. Open the Start menu, enter Microsoft To Do in the search bar, and click on the top result to open the Microsoft To Do app.
2. Once it opens, click on the Create a new group icon at the bottom of the left sidebar.

3. This creates an empty group, name it whatever you want and press Enter.

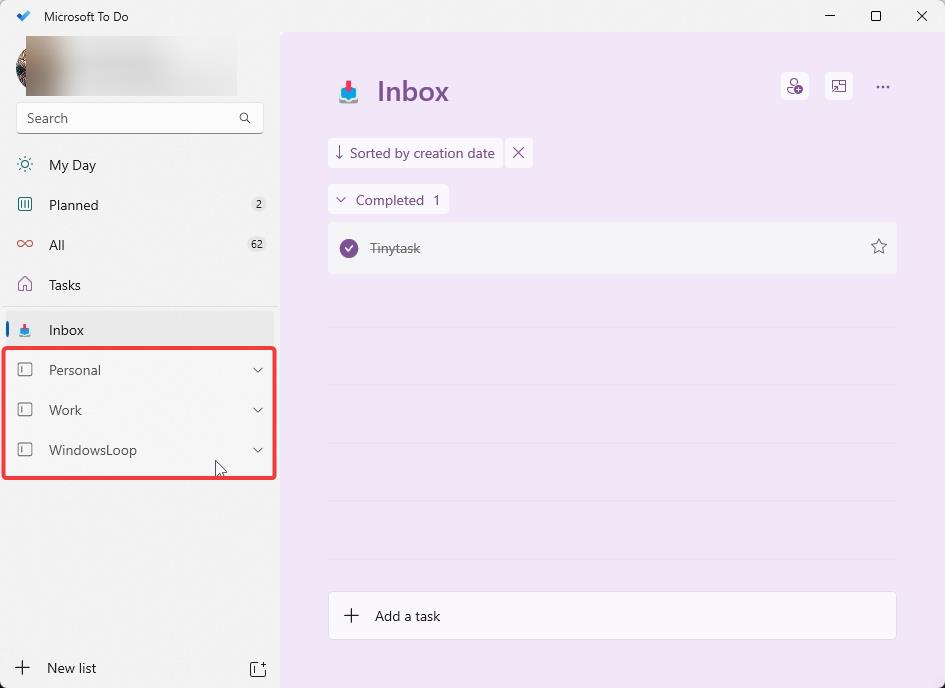
4. Once the group is created, drag and drop the lists onto the newly created group. This action adds the lists to the group effectively separating them from other groups and lists. For example, I’ve added the ‘WL To Do’ list to the ‘WindowsLoop’ group.

Following these steps, You can add as many lists as you want to a group and create as many groups as you want in Microsoft To Do.

Keep Your Microsoft To Do Workspace Tidy
To keep your workspace tidy, you can collapse the groups by clicking on the group name. This reduces the screen clutter and you will only see lists from the group you want.
If you have multiple groups, you can rearrange them by dragging.
Can You Create Sub-Groups Under Groups?
No, you cannot. As of now, Microsoft To Do doesn’t allow creating sub-groups under a group.
Rename a Group in Microsoft To Do
To rename a group, open the Microsoft To Do app, right-click on the group and select the Rename Group option.
Type the name and press Enter to confirm.
Ungroup Lists in Microsoft To Do
Remove a List From the Group
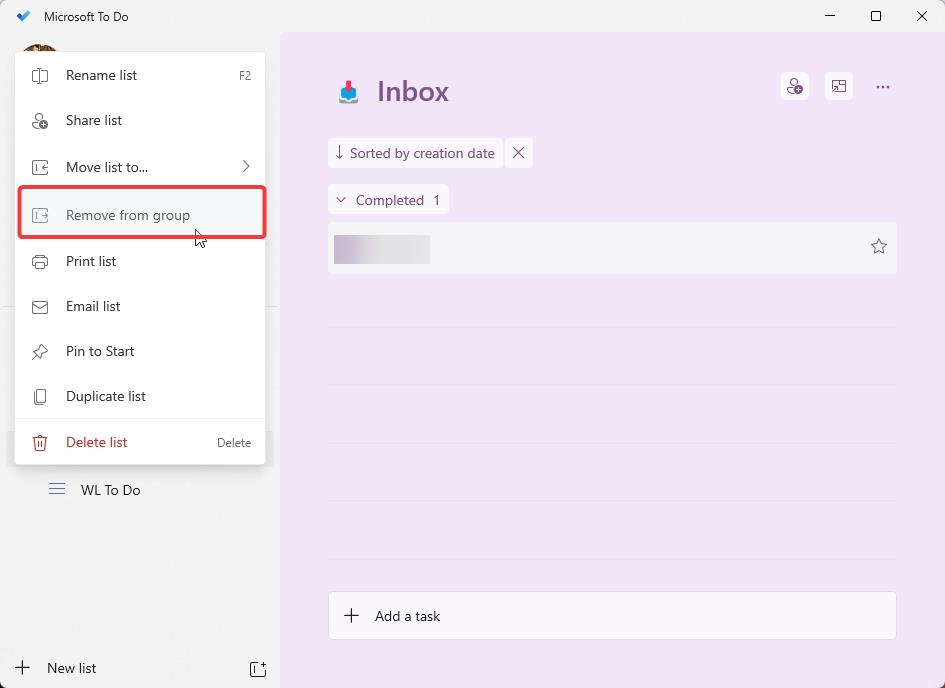
To remove a single list from a group, expand the group, right-click on the list you want to remove from the group, and select the Remove From Group option. The selected list is instantly ungrouped.
Ungroup All Lists From a Group at Once
To ungroup the entire group at once, right-click on the group title and select the Ungroup Lists option.
This will ungroup all the lists and then delete the group. Your lists will not be deleted.

Delete a Group in Microsoft To Do
If you no longer need a group, you can delete it from Microsoft To Do. Here’s how.
First, remove all the lists from the group. You can do this by right-clicking on a list and selecting the Remove From Group option.
Note: You cannot delete a group while it has lists in it.
Once all the lists are removed, right-click on the group title and select the Delete Group option. This action will delete the group in Microsoft To Do.

Wrapping Up – Managing Microsoft To Do Lists With Groups
And there you have it! This is everything you need to know about grouping lists and tasks to better manage them without cluttering your entire workspace. While creating groups, don’t forget to use short but descriptive names so that they are easier to recognize.
If you have any questions, comment below and I will answer.
