Don’t want Windows Defender to scan a folder? Here’s a simple way to exclude a file or folder in Windows Defender in Windows 10.
Windows Defender is the built-in and default antivirus software in Windows 10. Unlike other third-party antivirus software, Windows Defender runs silently in the background and provides real-time protection. In case you don’t know real-time protection is nothing but Windows Defender being on a constant watch for any potential harm.
In addition to the real-time protection, Windows Defender also scans your system on schedule. While scanning it looks at each and every folder and flags them if necessary. This is a good thing because you don’t have to worry about some forgotten folder containing some sort of PUP (Potentially Unwanted Software) or virus. However, there will times when Windows Defender flags perfectly normal folders or files as a virus.
For example, I always have a local copy of all Nirsoft tools. Due to the nature of those tools, Windows Defender flags them as viruses. This is called a False Positive. To avoid those kinds of false positives, you can exclude entire directories or folders in Windows Defender. Let me show you how.
Steps to Exclude a File or Folder in Windows Defender
To exclude a folder in Windows Defender, you have to manually add it to the exclusion list. The best thing is, Windows Defender allows you to add exclusions based on folder, file, file type, or process. Though the options are buried deep, it is very easy to do. Just follow the steps as it and you will go good.
1. Open Windows Defender by searching for “Windows Security” in the start menu and clicking on the result.
2. In Windows Defender, click on the “Virus & Threat Protection” option.

3. The above action will take you to the Virus & Threat Protection screen. Here, click on the “Manage Settings” link under Virus & Threat Protection Settings section.

4. In the advanced options page, scroll down until you find the Exclusions section. Here, click on the “Add or remove exclusions” link.

5. This is where you can add exclusions. To exclude a folder, click on the “Add an exclusion” button and then select the “Folder” option.

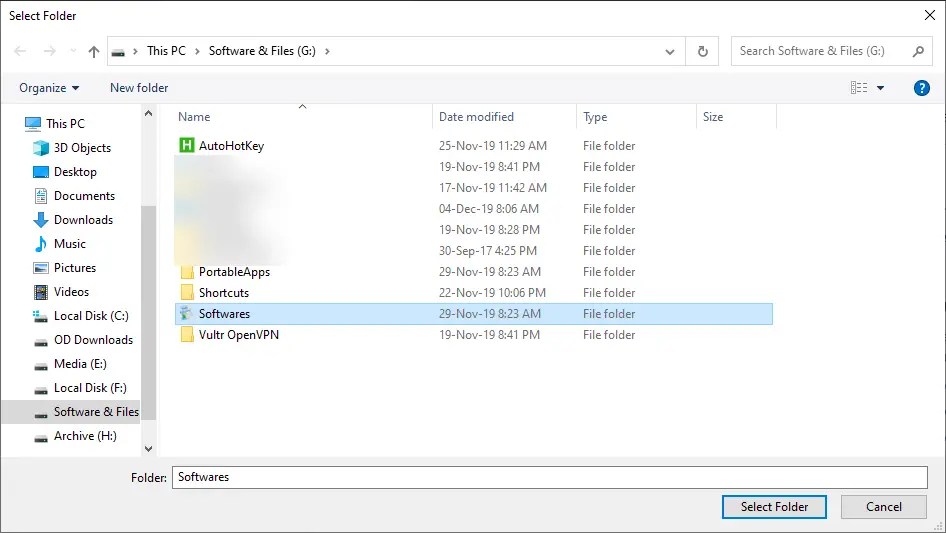
6. The above action will open the “Browse” window. Here, find the folder you want to exclude, select it, and click on the “Select Folder” button.
7. That is it. The folder is added to the exclusion list.

Following the same procedure, you can exclude specific files too. Just select “File” from the list of exclusion options and select the file.
Remove Folder from Windows Defender Exclusion List
To remove a folder from the exclusion list, click on the folder entry and then select the “Remove” option.
Wrapping Up
As you can see, though the options are thoroughly hidden, it is pretty easy to exclude files and folders in Windows Defender. When you are excluding specific file types or processes, enter the file type extension name or process name along with its extension.
Hope that helps. If you are stuck or need some help, comment below and I will try to help as much as possible. If you like this article, do check out how to force Windows Defender to scan archive files like ZIP.