Rather than digging deep for security permissions, here’s a simple way to add the take ownership option to the right-click context menu.
Every folder and file in Windows has permissions of its own. You can only access these files and folders according to the permissions. Generally, besides the system folders and files, you can access and modify almost any folder you want as long as you have the permissions required.
If you try to access data you don’t have permission for, you will be greeted with the “Access Denied” error. It would help to change the ownership when you want to access a protected folder or file. i.e., give yourself complete control over the target.
Being a security feature, you need to dig deep into the folder security properties to change ownership. Though not complicated when you know what and how to do it, it can still be confusing. So, to make things easier, you can add the Take Ownership option to the File Explorer’s right-click context menu. If you are constantly dealing with changing folder permission, adding the take ownership option to the right-click menu is quite helpful.
Once you add the option, you can take ownership of any folder as and when needed with a single click. So, without further ado, let me show how it’s done.
Add the Take Ownership option to the right-click menu
There are many ways to add the Take Ownership option to the context menu. One of those ways is by editing the registry. However, it is pretty messy. So, we will use a free and lightweight software called TakeOwnershipEx.
The best thing about this tool is that it also lets you restore the original rights or ownership. You can reverse the ownership changes once you are done accessing or editing the target file or folder.
- Get TakeOwnershipEx from the official site.
- Open the downloaded zip file.
- Extract the “TakeOwnershipEx.exe” file to the desktop.
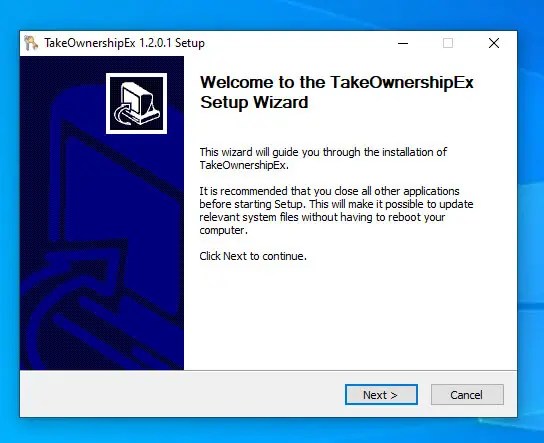
- Double-click the “TakeOwnershipEx.exe” file.
- Press “Next” on the main screen and proceed with the installation.
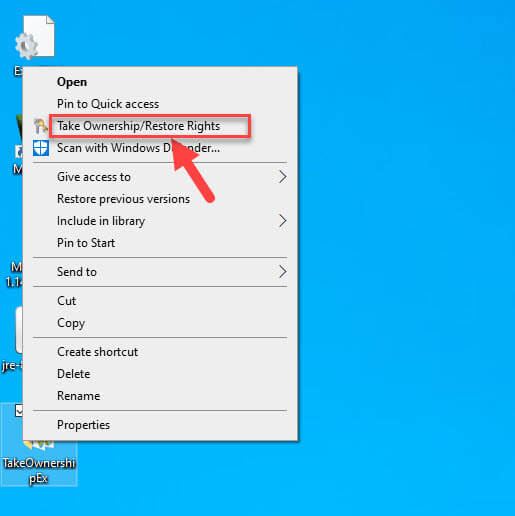
- Right-click on a file to see the “Take ownership/Restore rights” option.
- With that, you have added the take ownership to the right-click menu.
Download link: https://winaero.com/download.php?view.16
Steps with more details:
1. First, head over to the developer website and download the TakeOwnershipEx file. After downloading, extract the ZIP file’s contents to a folder on your desktop.
Download link: https://winaero.com/download.php?view.16
Helpful guide: Best software to open a Zip file in Windows

2. In the extracted folder, execute the .exe file to open the TakeOwnershipEx application. After opening it, follow the wizard and install it like any other Windows application.
3. After installing, the application will automatically add the Take Ownership option to the right-click context menu.
4. When you want to take ownership of a file or folder, right-click on it and choose the “Take ownership/Restore Rights” option.
5. The application will instantly change the target file or folder’s ownership and give your user account full rights. You will see a prompt telling you the same. Click “Ok” to close the prompt.

6. Once you make the necessary changes, you can restore the rights to their previous state. To do that, right-click and choose the “Take ownership/Restore Rights” option again.

Wrapping Up
That is all. It is simple to add the take ownership option to the right-click menu. If you ever want to remove the option, uninstall the TakeOwnershipEx application, and you are done.
If need be, restore the rights of folders or files you previously changed before uninstalling the application.
I hope this simple Windows how-to guide helped you.
If you are stuck or need some help, comment below, and I will try to help as much as possible.
Like this article? Check out how to fix you currently don’t have permission to access this folder error in Windows.